- Configuration to control how m3ter data will be synchronized with your external system.
- Configuration of a Credential, which will allow the Integration to authenticate and connect with an external system.
- A Native Integration allows you to send billing data for end-customer Accounts in m3ter into your Accounts Receivables systems. For some external systems, you can also send operational data for entities in your m3ter Organization.
- A Notification Webhook Integration allows you to send out notifications triggered by m3ter system Events to webhooks.
- Creating and Managing Native Integrations
- Creating and Managing Notification Webhook Integrations
- Reviewing Integration Runs
- Integration Run Error Handling and Alerts
Creating and Managing Native Integrations
Creating Native Integrations
You can create Native Integrations for a billing data flow into external systems. For some external systems, you can also choose to set up Integrations to sync operational entity data in m3ter with the external system. For detailed guidance on creating a Native Integration, please see the relevant specific topic in this section:- Configuring Stripe Integrations
- Configuring Netsuite Integrations
- Configuring Paddle Integrations
- Configuring Chargebee Integrations
- Configuring QuickBooks Integrations
- Configuring Xero Integrations
- Configuring Salesforce Entity Data Sync Integrations
- Configuring AWS Marketplace Integrations
Reviewing and Managing Native Integrations
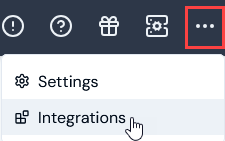
When you have set up some Native Integrations, you can use the Integrations section in the Console to review and manage them. To review and manage Native Integrations:- Select Integrations:
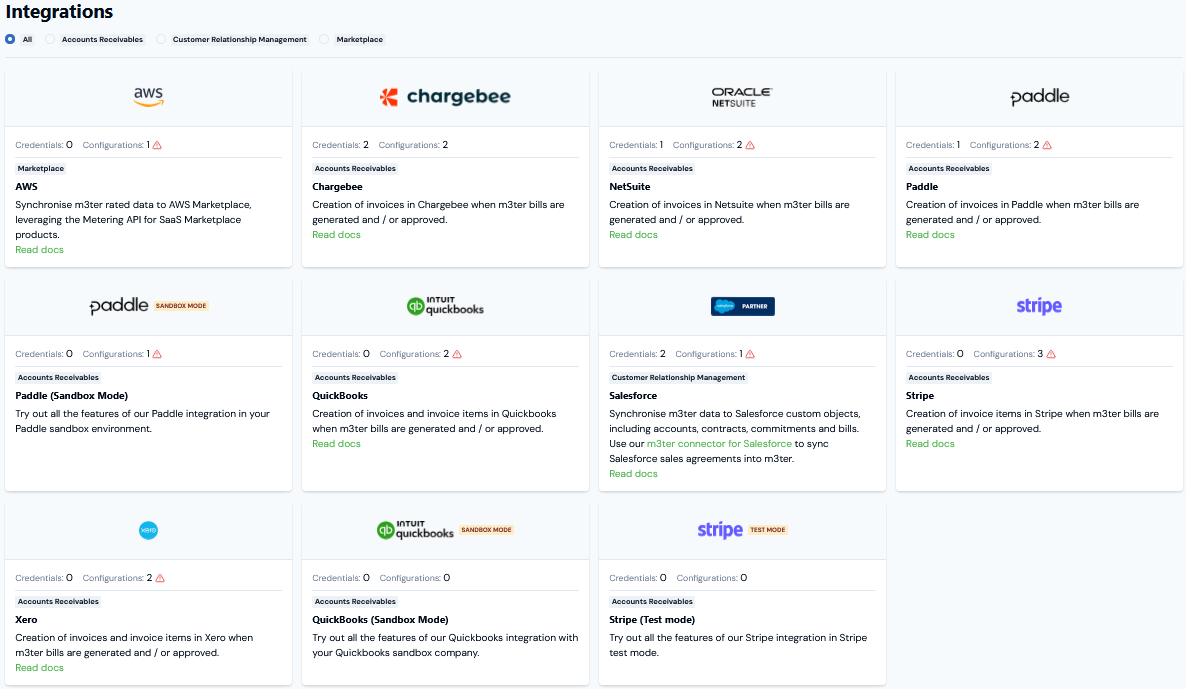
- You can filter the page by selecting to show only Accounts Receivables, Customer Relationship Management, or Marketplace systems.
- The number of Credentials and Configurations set up in your Organization for the system.
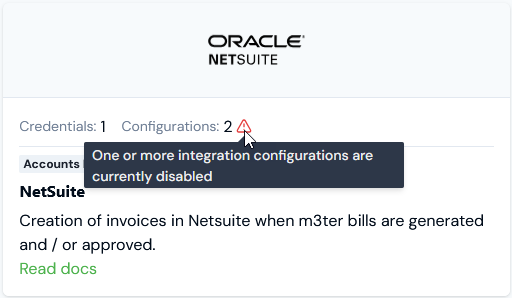
- If either a Credential is disconnected or a Configuration is disabled, then a warning will show and you’ll need to open the Integrations page for the system and investigate:
- Use a Read docs hotlink to open the topic explaining how to configure an integration for that system.
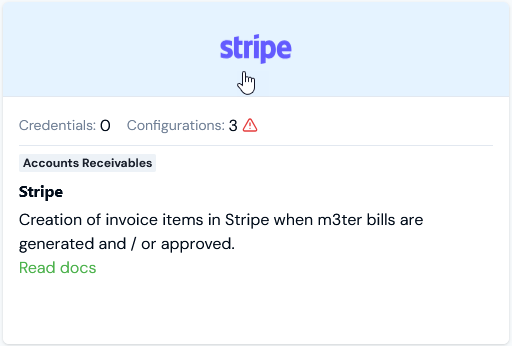
- If you want to create a new Native Integration or review and edit the details of an existing integration, select the tile for the system:
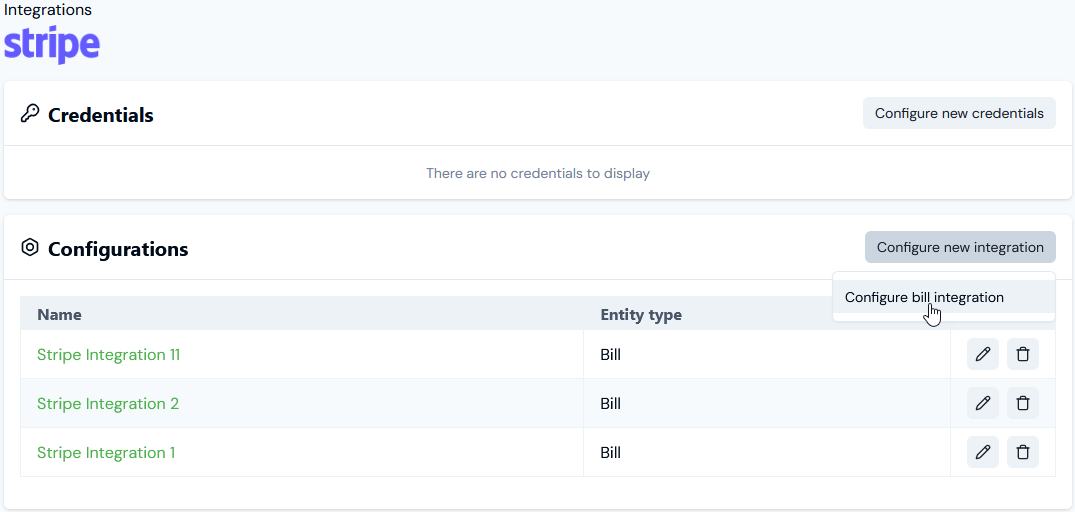
- If you want to create a new Native Integration for the external system, select Configure new integration and commence your workflow - see the relevant specific topic in this section of the documentation.
- If you want to review or edit an existing integration for the system, on the Configurations panel select the Name hotlink text. The Integration details page opens:
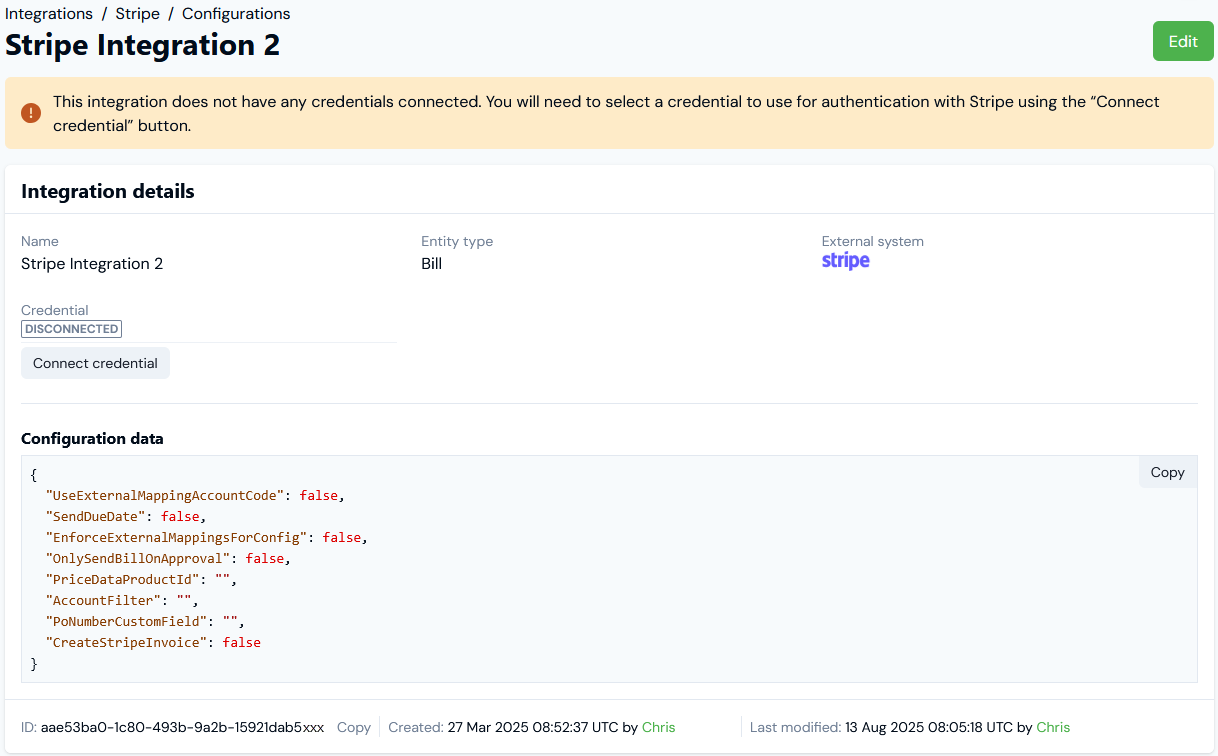
-
We can see that the integration is currently DISCONNECTED from the Stripe system:
- If you want to connect the Integration, select Connect credential. A Select Credential dialog appears, which you can use to select the Credential you want to use to connect the integration. See Creating Stripe Integration Credentials.
- The Configuration data is given in JSON format. You can copy this directly to your clipboard.
- Scroll down the Integration details page to the Linked external mappings panel. If you intend to set up multiple integrations in m3ter with a single external system, you can create separate external mappings for use with each separate integration. See Creating Linked External Mappings for more details.
- If you want to edit an existing integration, select the Edit button. The Edit page opens and shows the Entity type and External system at the top of the page.
- Make the required editing changes and select Update integration. You are returned to the Integration details page.
- If you want to remove an existing Integration, go back to the Integrations page for the external system and on the Configurations panel select delete:

- Select Yes to confirm the delete action.
Creating and Managing Notification Webhook Integrations
Creating Notification Webhook Integrations
To create a Notification Webhook Integration, you must first create a Notification rule based on a system Event. You can then link this Notification Rule to an Outgoing Webhook. When you make this link, it creates a Notification Webhook Integration:- For details on how to create Notification Rules based on system Events and link them to Outgoing Webhooks, see Creating, Managing, and Reviewing Notifications.
- For details on how to create Outgoing Webhooks, see Creating and Managing Outgoing Webhooks.
Reviewing Integration Runs
When you have set up Native Integrations or Notification Webhook Integrations and deployed them to your production environment, you can use links to open integrations runs to review them.Accessing Runs for Native Integrations
For Native Integrations for sending Bills out to your Account Receivable systems, links are provided on the Bill details pages of end-customer Accounts configured for the integration: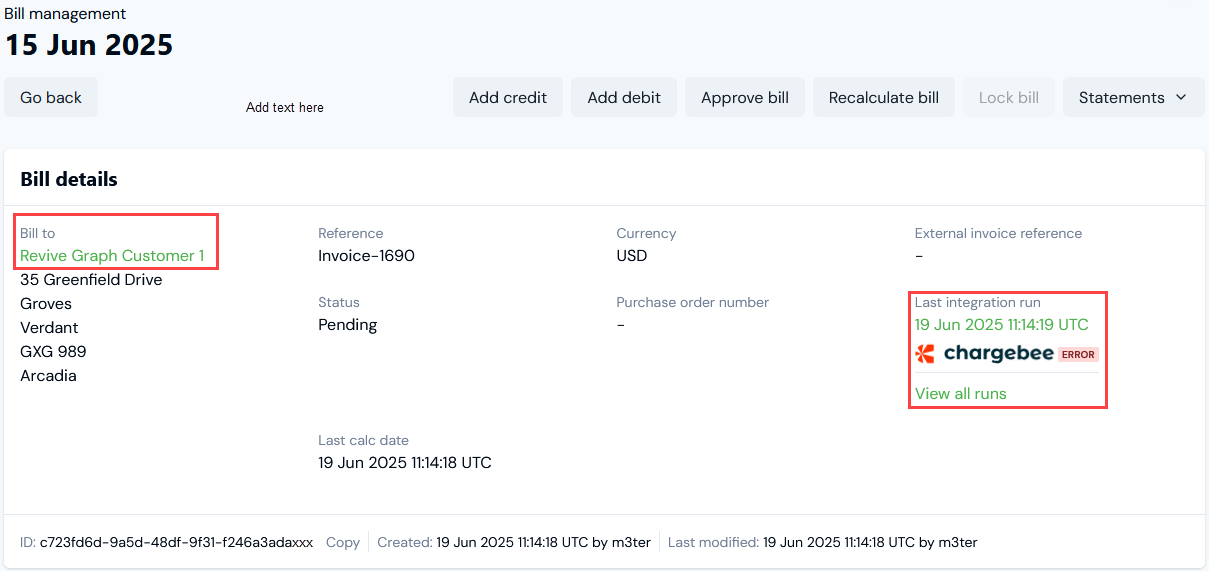
Accessing Runs for Notification Webhook Integrations
For Notification Webhook Integrations sending a payload out to a webhook when an Event occurs and triggers the Notification, links are provided on the Notification rule details page: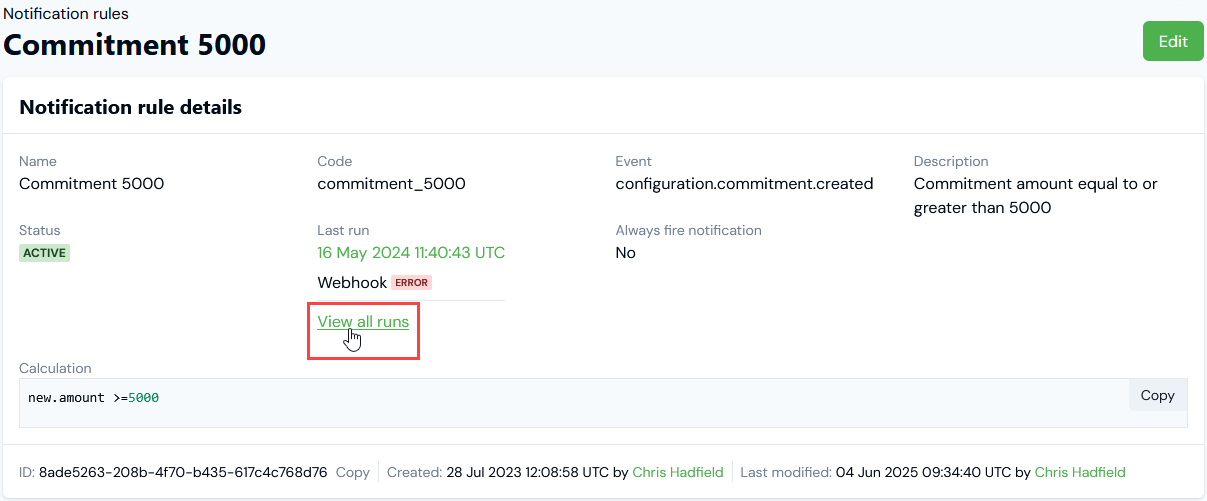
Integration Run Error Handling and Alerts
Once a Native Integration or Notification Webhook Integration is operational, checks are in place from the m3ter side to ensure some resilience for integration runs and to prevent runaway errors.Native Integrations - Auto-Disabling
- Auto-Disabling. If there have been 20 successive previous error Event responses to earlier attempts to run an integration, then the integration is automatically disabled and a Re-enable button will show for the Integration details. Please check the earlier error Events to resolve any issues preventing the integration from running before you re-enable the integration.
Notification Webhook Integrations - Auto-Failure and Auto-Disabling
- Auto-Failure. When a system Event occurs on which a Notification rule is based and triggers the Notification, four successive attempts are made to send the Notification payload out to the configured webhook. Note that there’s an exponential backoff built into this process - a wait of 2 seconds after the first failure before retry, then a wait of 4 seconds before retry, and so on. If all four attempts fail, then the integration is put into a failed state.
- Auto-Disabling. As with other native integrations, if there are 20 successive failures, the Notification Webhook integration is then auto-disabled.
Troubleshooting Disabled and Failed Integrations
Alerts and error Events are generated when an integration run fails and you can quickly check these to help with troubleshooting. Please check:- The Integration Events page. See Reviewing and Resolving Integration Events for more details.
- The Alerts page. See Viewing and Managing System Alerts.
- The Run log for disabled or failed integrations runs. See Reviewing Integration Run Details.