- First, create the integration.
- Second, set up authentication for the integration to connect with Chargebee.
Creating the Integration
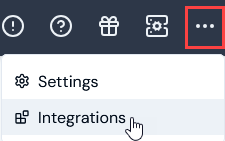
You can quickly set up a native Chargebee integration in the Console. To define a m3ter - Chargebee integration:- Select Integrations:
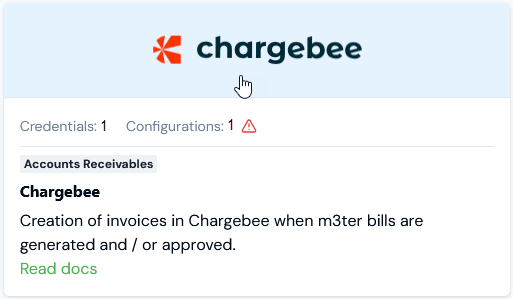
- Select Chargebee:
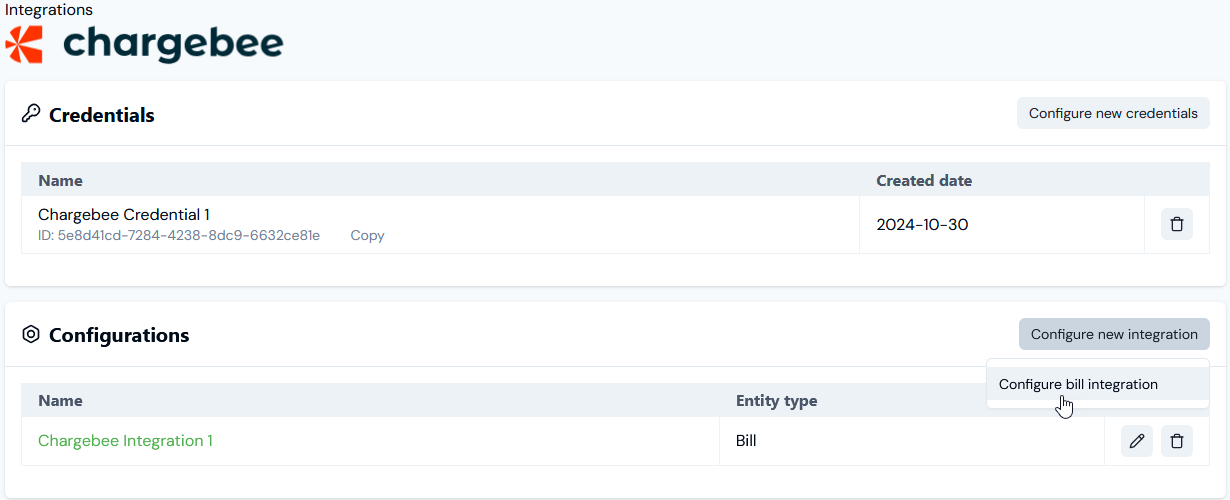
- On the Configurations panel, select Configure new integration>Configure bill integration:
- Use the Global configuration panel to:
- Enter a Name for the Integration. This is required and is useful if you intend to create multiple Integrations for the same External system/Entity Type and need to clearly differentiate them.
-
Select the Accounts you want the integration to apply to:
- Account ids. Select the Accounts you want to include - all selected Accounts are treated as allowed for the integration.
- Restricted account ids. Select the Accounts you want to exclude - all selected Accounts are treated as disallowed for the integration.
-
Select Users for Email notifications if disabled:
- Integration disabled notification users. Select Organization Users you want to receive an Email notification if the integration is automatically disabled.
- Use the Entity configuration panel to configure the m3ter entity you’ll be synchronizing with for the integration. In the case of an outbound Bill integration, this entity will be the Bill generated for a customer Account in m3ter:
-
Only send bill on approval. Enable this if you only want Bills to be sent when they have been approved. If disabled, the Bill will be sent every time it is regenerated. Default is disabled. Note that:
- The frequency of Bills sent will depend on the billing frequency defined for the Account Plan attached to the Account - such as daily/weekly/monthly/annually.
- If an Account has a Prepayment on it and the billing for Prepayment fees is configured to run on a customized schedule, Bills will be sent when scheduled Bills are generated.
- If a Bill is manually recalculated the updated Bill will be sent.
- If you enable this, then the integration will not run for all Bill Jobs.
- Use external mapping account code. Enable this if you want the integration to look in the External Mappings for the Account identifier code, which means you can use an external Id. If this is disabled, the m3ter Account Id is used. Default is disabled.
-
Excluded line item types. Optionally filter the Bill line item types you send to the destination system. For example, only send charges or credits and exclude all other line item types.
- For details of line item types, see Bill Line Item Types.
-
Account filter. Optionally, enter an expression that is run on the Account to determine whether or not the integration is run. You can use this setting if you have multiple destinations for sending Bills outbound to your Chargebee system. For example:
customFields != null AND customFields.country = = UK- In this example, the integration will run for an Account only if you have created a Custom Field for the Account called country and given the field a value of UK.
-
Enforce external mappings for config. Optionally enable this if you want the integration to use only those external mappings specified as being for this configuration.
- Use this setting if you want to set up multiple integrations for the same external system. You can then create separate external mappings for each integration from the details page of each integration, and these external mappings become Linked external mappings for the specific integration. See Creating Linked External Mappings.
-
Excluded products. Optionally filter the Bill line items you send to the external system. Any line items associated with the selected Products will be be excluded when the integration runs.
- Note that if line items are mapped to a specific Accounting Products, these will be used for filtering to exclude line items.
- Excluded aggregations. Optionally filter the Bill line items you send to the external system. Any line items associated with the selected Aggregations will be be excluded when the integration runs.
- Use the External system configuration panel to enter the settings specific to the external system. These settings include field mappings as well as other system-specific configurations:
- Chargebee minimum spend item price. Optional - enter the Charge Item Price ID to use when minimum spend line items are added to the invoice. Note that the value of the Charge Item will be used as the default value if there is no value available for a given pricing.
- Chargebee standing charge item price. Optional - enter the Charge Item Price ID to use when standing charge line items are added to the invoice. Note that the value of the Charge Item will be used as the default value if there is no value available for a given pricing.
- Chargebee create invoice. Whether or not m3ter should create an invoice in Chargebee. If disabled, m3ter will wait for Chargebee to generate a subscription invoice before trying to add line items. Default is disabled.
- Chargebee use multidecimal. Whether or not multi-decimal support is enabled in your Chargebee site. If it is, m3ter can send certain line item values with higher precision. Default is disabled.
-
Chargebee multi decimal price decimal places. Enter the number of decimal places to be used when sending multi-decimal price values to Chargebee. This should be less than or equal to the number of decimal places configured in your Chargebee site:
- Note: Only relevant if Chargebee use multidecimal is enabled.
-
Chargebee multi decimal units decimal places. Enter the number of decimal places to be used when sending multi-decimal units values to Chargebee. This should be less than or equal to the number of decimal places configured in your Chargebee site:
- Note: Only relevant if Chargebee use multidecimal is enabled.
-
Split usage line items. This setting determines how m3ter will create usage invoice items in Chargebee. Chargebee charge items can be mapped to an individual usage pricing band or to a product:
- Item per usage band
- Item per product
- Chargebee default price id. This setting defines the Chargebee Price ID that will be used if there is no External Mapping entity configured in m3ter between m3ter and Chargebee - for example “Other”.
-
Chargebee price id mapping:
- If configured, this setting means line items of the specified type will be mapped to the specified Chargebee Price ID.
- If not configured, the CHARGEBEE_DEFAULT*_*PRICE_ID will be used.
-
Sort line items by. Optionally, select a property to sort line items by before they are sent out to the external system. Three options:
- None
- Subtotal
- Aggregation ID
- Select Create integration. You are returned to the Integrations>Chargebee page, where the integration is listed on the Configurations panel:

Setting up Authentication for the Integration
When you’ve created a Chargebee integration, you can select an Integration Credential you’ve created for authentication allowing the integration to connect with your Chargebee system. To set up authentication for your m3ter - Chargebee integration:- Select Integrations. The** Integrations** page opens.
- Select Chargebee. The Integrations>Chargebee page opens.
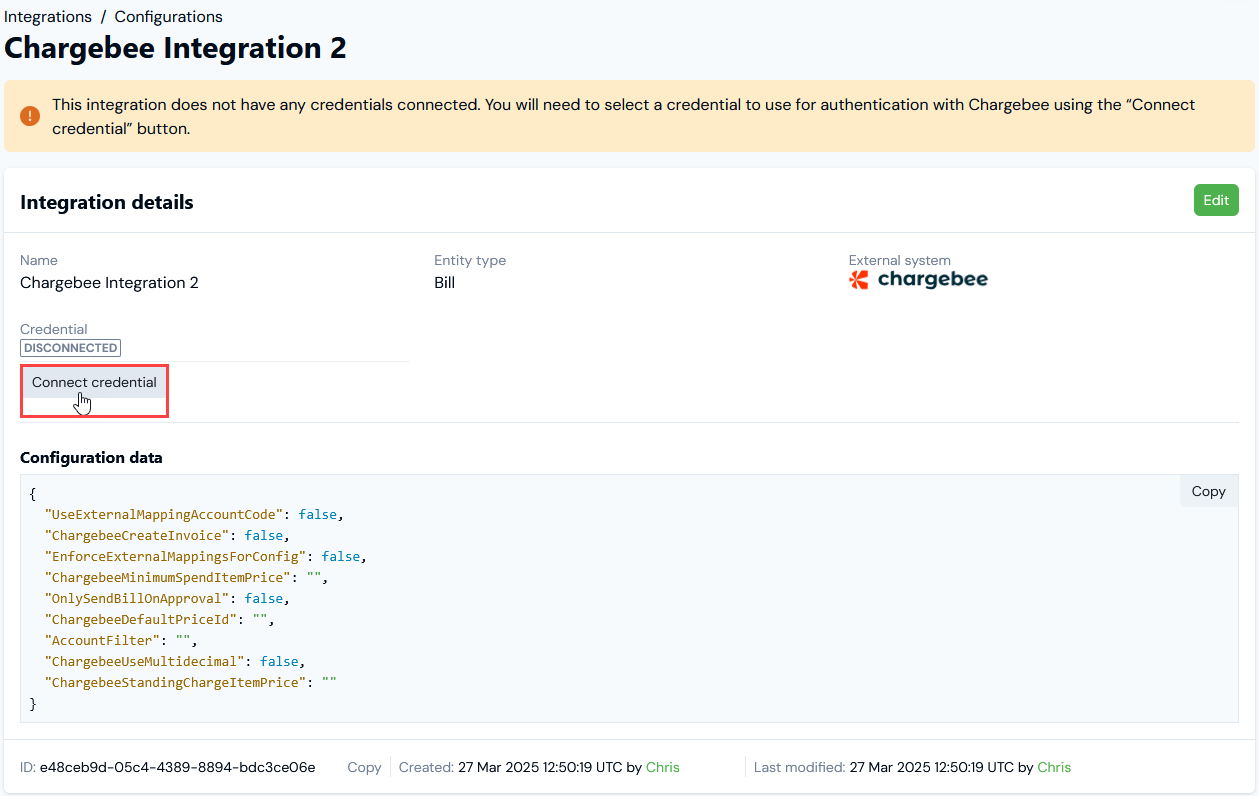
- On the Configurations panel, select the Name hotlink text of the Chargebee integration you want to set up authentication for. The Integration details page opens:
-
Notes:
- A warning is shown that the integration is not yet connected to your Chargebee system.
- The ID of the integration configuration is shown at the bottom of the Details card, and you can copy the ID directly to your clipboard.
- Select Connect credential. A Select credential modal appears.
- Select a Credential you created earlier and want to use to authenticate the integration with Chargebee. See Creating Chargebee Integration Credentials.
- Select Confirm. The modal closes and on Integrations details the integration now shows as CONNECTED:

- The Credential used to connect the integration is shown.
- If at any time you want to disconnect the integration, select Disconnect credential.
- If you want to use a different Credential for connecting the integration, select Change credential. The Select credential modal appears and you can select a different Credential.